Posts

Showing posts with the label electronics

Da Da Da DAT

Image
I was kindly given a Sony DAT Walkman a few months ago and started playing with it last week. There's a minor issue with it that I will sort out, but it is a solid piece of kit and still working after 30 years. DAT really was the pinnacle of recording technology with full uncompressed 48kHz audio at your fingertips. Now DAT, like MiniDisc, generally has to record and play back at normal speed, so there is no special digital connection for a computer. The Walkman had a proprietary 7-pin digital connection for linking to other digital gear. A quick bit of research revealed that the connectors are as rare as unicorn poo and I couldn't even find a pinout. What I did have though were some optical audio cables and connectors cannibalized from obsolete stereo equipment. I recorded some random audio to a DAT tape and played it back while using the oscilloscope to test the pins in the digital connector. I was able to find a suitable waveform with a 3.3-volt amplitude which l...

DIY Car Subwoofer

Image
I've been planning getting the Toyota MR2 back on the road and one of the things I have been messing with for the last 20 years is getting a decent sound system without breaking the bank. The MR2 originally had the front speakers in the dashboard with an optional subwoofer under one of the seats, but the dash just doesn't provide enough baffle for a decent sound. In 2010 I built this speaker cabinet which sits between the seats and provides pretty good sound along with 'flux capacitor' visual effects! I have since recovered 2 of these weird speakers from a high-end plasma television I stripped out. The sound quality is frankly amazing for the size of the units. The internal baffle and reflex design is excellent. I want to see if these could be either fitted inside the doors or mounted as pods on the doors themselves. To go with these I need a subwoofer which can either fit under or behind the driver's seat and this little one came my way. It was part of a Hitachi s...

Brush Cutter Upcycle

Image
Another garden power tool converted to run on Parkside/Lidl 20v lithium-ion batteries. This is a nice brush cutter from Ozito which had seen good service on an allotment, but had a failed 18v battery pack. I took the same approach as with the Bosch conversion and gutted the cells out of the battery pack and attached a Parkside adaptor plate. Interestingly, of the 5 cells (18650) in the Ozito battery pack, 4 are serviceable and only 1 had failed, just the same as the laptop batteries. It is working well and I still have 2 adaptor plates from my last AliExpress order for more shenanigans.

Electronics Upcycling

Image
ELECTRONICS UPCYCLING FAQ CHECK OUT THE OTHER POSTS ON THIS BLOG FOR DETAILS ON REPAIRS AND UPGRADES GOING BACK OVER 10 YEARS - What's the story? I've been tinkering with circuits for over 40 years and have an MSc in microelectronics, and a few years ago realised I could combine this with saving the planet. Basically I'm Greta Thunberg with a soldering iron. - Saving the planet? Well every electronic item kept out of landfill reduces the amounts of dangerous 'forever chemicals', getting released into the environment. By repairing items or stripping out most of the reusable parts this reduces what ends up in landfill and ensures the components go into the correct recycling bins, such as hard plastic cases. - Don't the council do that? Up to a point, but information has emerged about huge amounts of European electronic waste being shipped to Africa and Asia where it continues to damage the environment and people's health, especially the women paid ...

Headphones Upgrade -The importance of hoarding spares!

Image
These nice Sony headphones came in another batch of stuff from a kind Freegle user. One of the drivers (speakers) seemed to have burned out and the earmuffs were badly worn. I had a poke in the spares box labelled 'Speakers & Sounders (Small)' and found a pair of Sennheiser drivers that were the same size. The Sony ones were built into the headphone housing, but were easy to dismantle and the Sennheiser units fitted right in. It was just a matter of soldering the cables in and they were not only repaired, but upgraded. I measured the earmuffs to be 70mm and ordered replacements for $3 on AliExpress. The headphones are light and comfortable, but have the great Sennheiser sound quality. Job done.

ZX Spectrum Repair and Upgrade

Image
A kind Freegle user gave me a big collection of vintage home computer equipment a few months ago including 4 48K ZX Spectrums in various states. The photo above shows one of them connected via the aerial RF socket as a test. The random pattern is a typical ssymptom of failed memory ICs.  The first job was to examine the main boards in each of the 4 computers. 3 were Spectrum+ units in the bigger case with the better keyboard and 1 was the classic Spectrum with the rubber keyboard. Unfortunately the classic's case was in very poor condition, but 2 of the 4 main boards were suitable for restoration along with at least 2 of the Spectrum+ cases. The 7805 regulator is a linear type and generates a lot of waste heat, hence the big heatsink. These can be easily replaced with a high-efficiency TSR1-2450 swich-mode type so that the heatsink can be done away with. The next job is to modify the RF modulator to output composite video. This just r...

Biggest Power Bank Yet!

Image
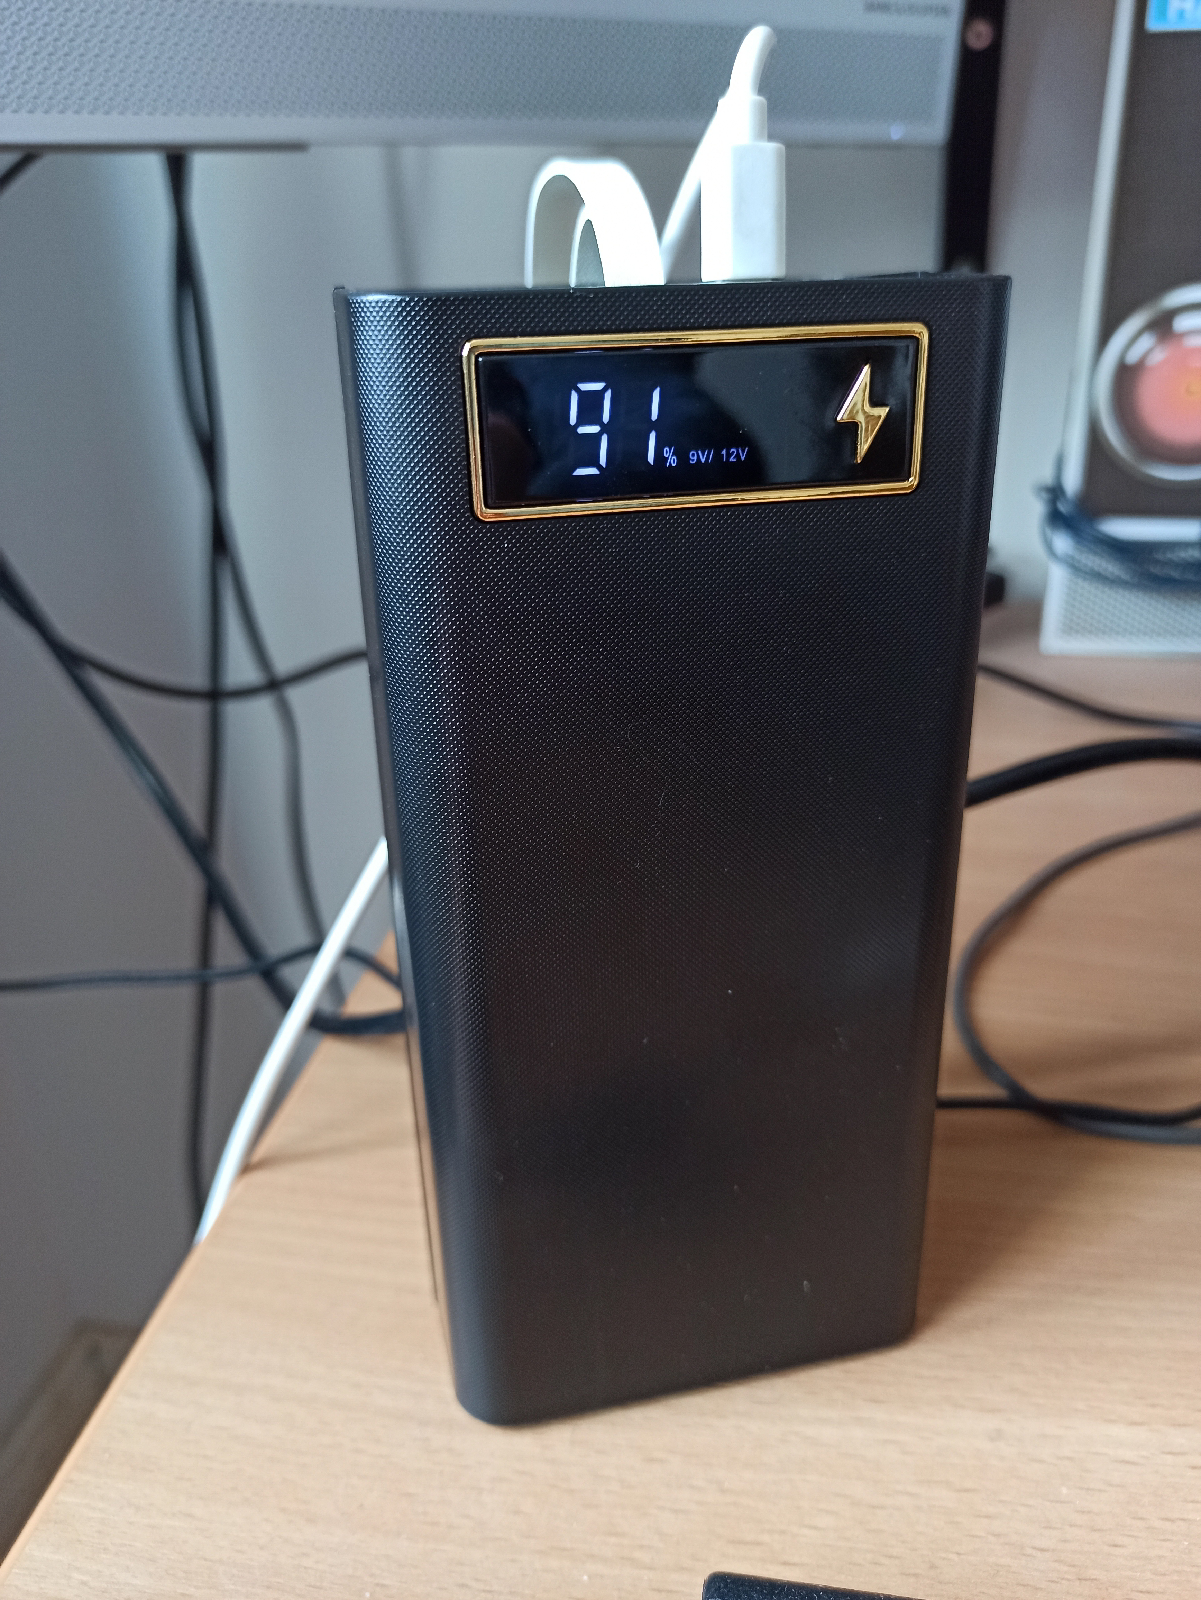
This is the big daddy of power banks! 21 18650 cells so the equivalent of 3.5 laptop batteries. Somewhere in the region of 200Wh give-or-take as the cells are used. This one is the easiest to use, spring contacts and a sliding lid. It supports fast charging both in and out at 5, 9 and 12 volts and has a range of USB connections as well as an Apple one. I fully charged it about a week ago and it is showing 96% currently which would indicate 1 or 2 cells cross-charging. When it hits 90% I'll test each cell, identify the weak ones and replace.

Monster Power Bank

Image
This is the biggest power bank I've made yet using 16 recycled 18650 cells from defunct laptop batteries. I now have a decent system for identifying the useable cells and preparing them for use in a power bank. The first think to be clear about is that after messing about with soldering recovered cells together I've given up on that as unneccessary when you can buy power banks with spring connections ready for the cells to be slotted in, just like any battery-operated device. The trick is to use a Dremel or Minicraft drill fitted with a cone grinder to clean both the positive and negative connections on the cells. A squirt of contact cleaner helps as well. Fit all the cells and charge to 100%, which with a 16 cell unit can take a while, but the USB-C 3 amp charging speeds things up. The next bit takes patience because you need to leave the thing for at least 2 weeks to see if any cells are dud and not holding a charge. As I've said before, most cells will be serviceable, us...

Lego Robotics with Arduino 1

Image
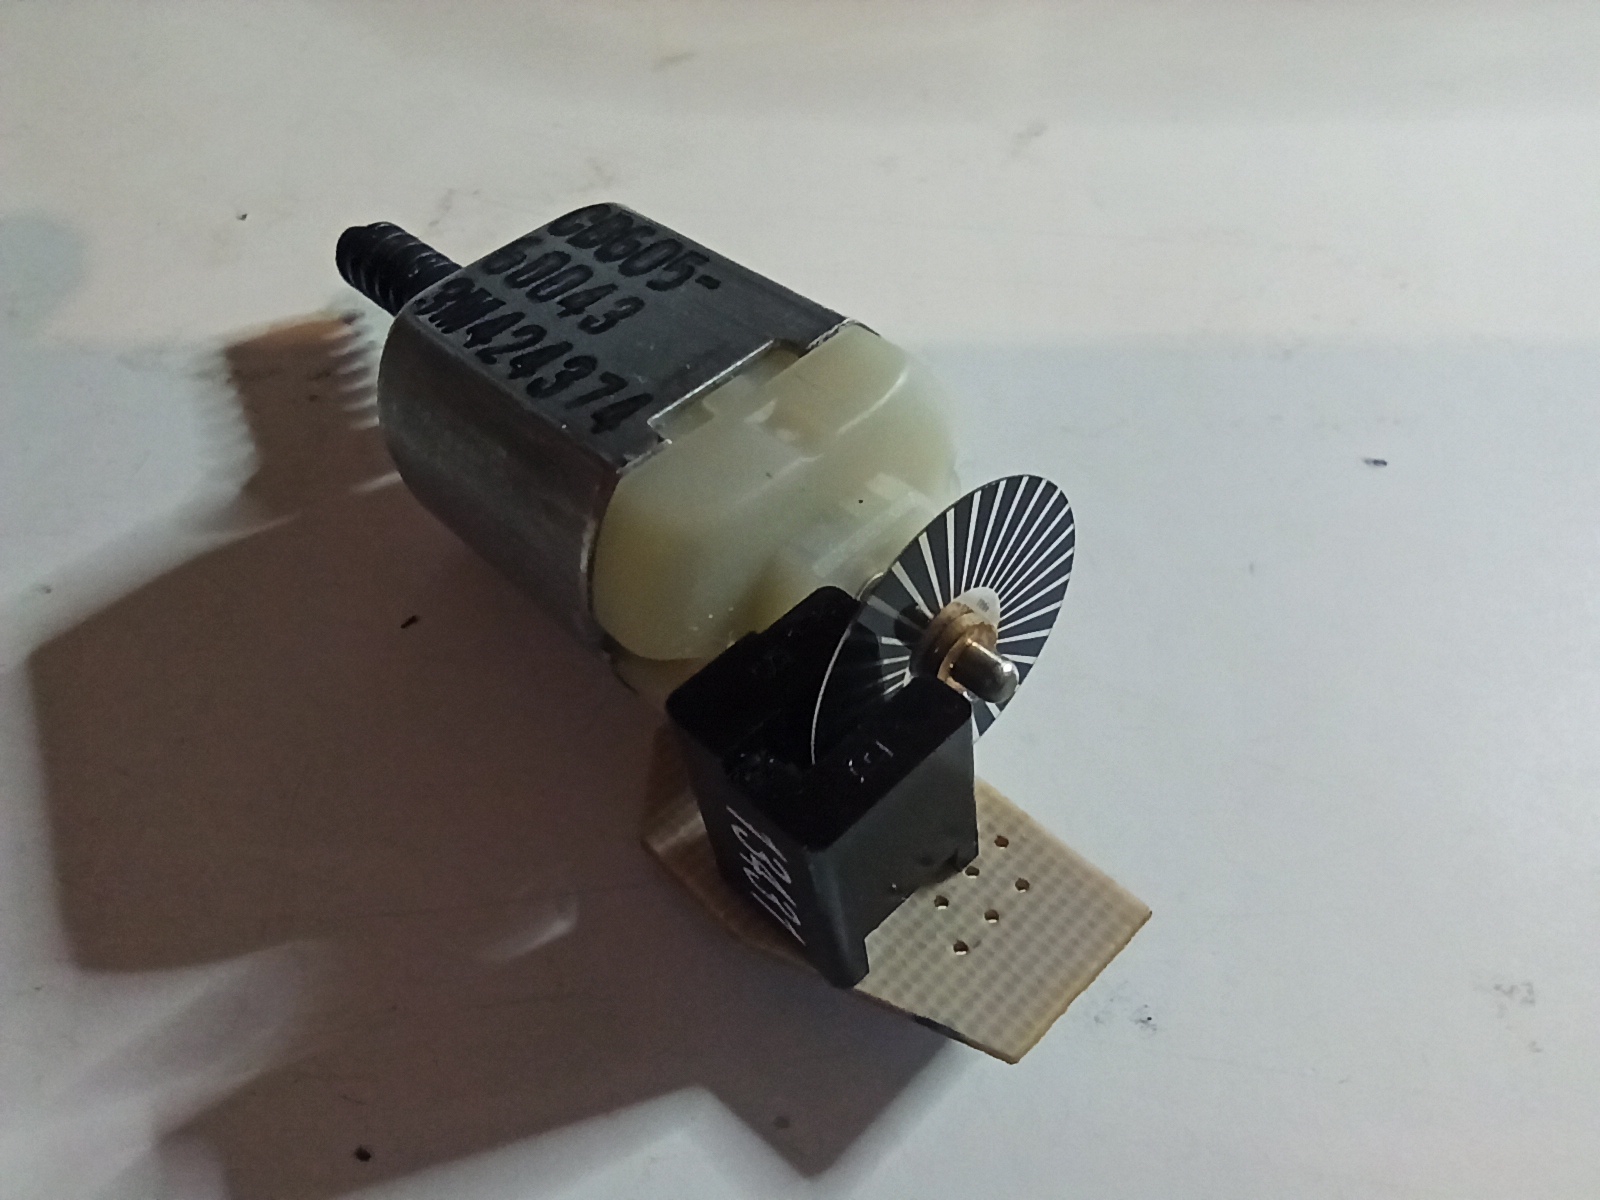
I have a bunch of these little motors recovered from broken printers. They have a neat feedback system built onto the back using a slotted infrared sensor and an encoding wheel. All that needs to be added is a 74LS14 (or equivalent) Schmitt trigger to clean up the pulses coming from the infrared sensor. I modified the motor spindle to take the smallest Lego Technic gear and built a little test rig with a linear actuator type arrangement. The motors can be glued upside-down to a 4x2 stud Lego plate and occupy roughly the same space as a classic Lego Technic 4.5 volt motor. VIDEO -  Lego Robotics Test Rig The motor is driven by a L293NE H-bridge IC with another of the Schmitt inverters used to reduce pin count to just 2 - MotorDirection and MotorSpeed. The code uses an interrupt to count the incoming pulses on a pin and also detects a stall situation by checking if the pulse count has stopped when the motor is supposed to be running. TEST CODE // Lego Robotics Test 002 // G...

Awesome Pioneer Stereo System

A kind Freegle user called Niamh (who owns a lovely bicycle) gave me this awesome retro Pioneer stereo system (YouTube video below).  Pioneer Stereo System The CD tray was a bit temperamental and one of the speakers might have a damaged wire, but nothing too serious and the unit was quickly back in action. I only ever came across Pioneer systems in classic cars so was keen to find out how this one performed. I hooked the stereo up to a heavy pair of speakers I got from Will on Freegle a few weeks ago and have been blown away by the sound quality. Real depth and bass. The tape mechanism and big tilt display are just things of beauty, I think I'm in love!

Spudgers!

Image
A spudger (apparently) is a plastic device for prising open the cases of electronic items to get into them to repair them. You can use a flat-bladed screwdriver, but will probably crack or score the case unless you are both lucky and careful.  I never throw out used toothbrushes because they are invaluable for cleaning and degreasing engine parts (EGR valve on a Skoda Fabia being a personal favourite!). It occurred to me that they would make good spudgers with a bit of, well whittling I'd guess you'd call it. If I'm honest, the inspiration was the classic jailhouse shank actually.  Get your Stanley knife and instead of using it for a thrill-seeker liquor store hold up (putting you in the aforementioned jailhouse), whittle the tops of a couple of old toothbrushes into fine spade ends. Ideal for opening radios, DVD players and especially tablet computers. Free and greener than just chucking them away.

Portable DVD Player

Image
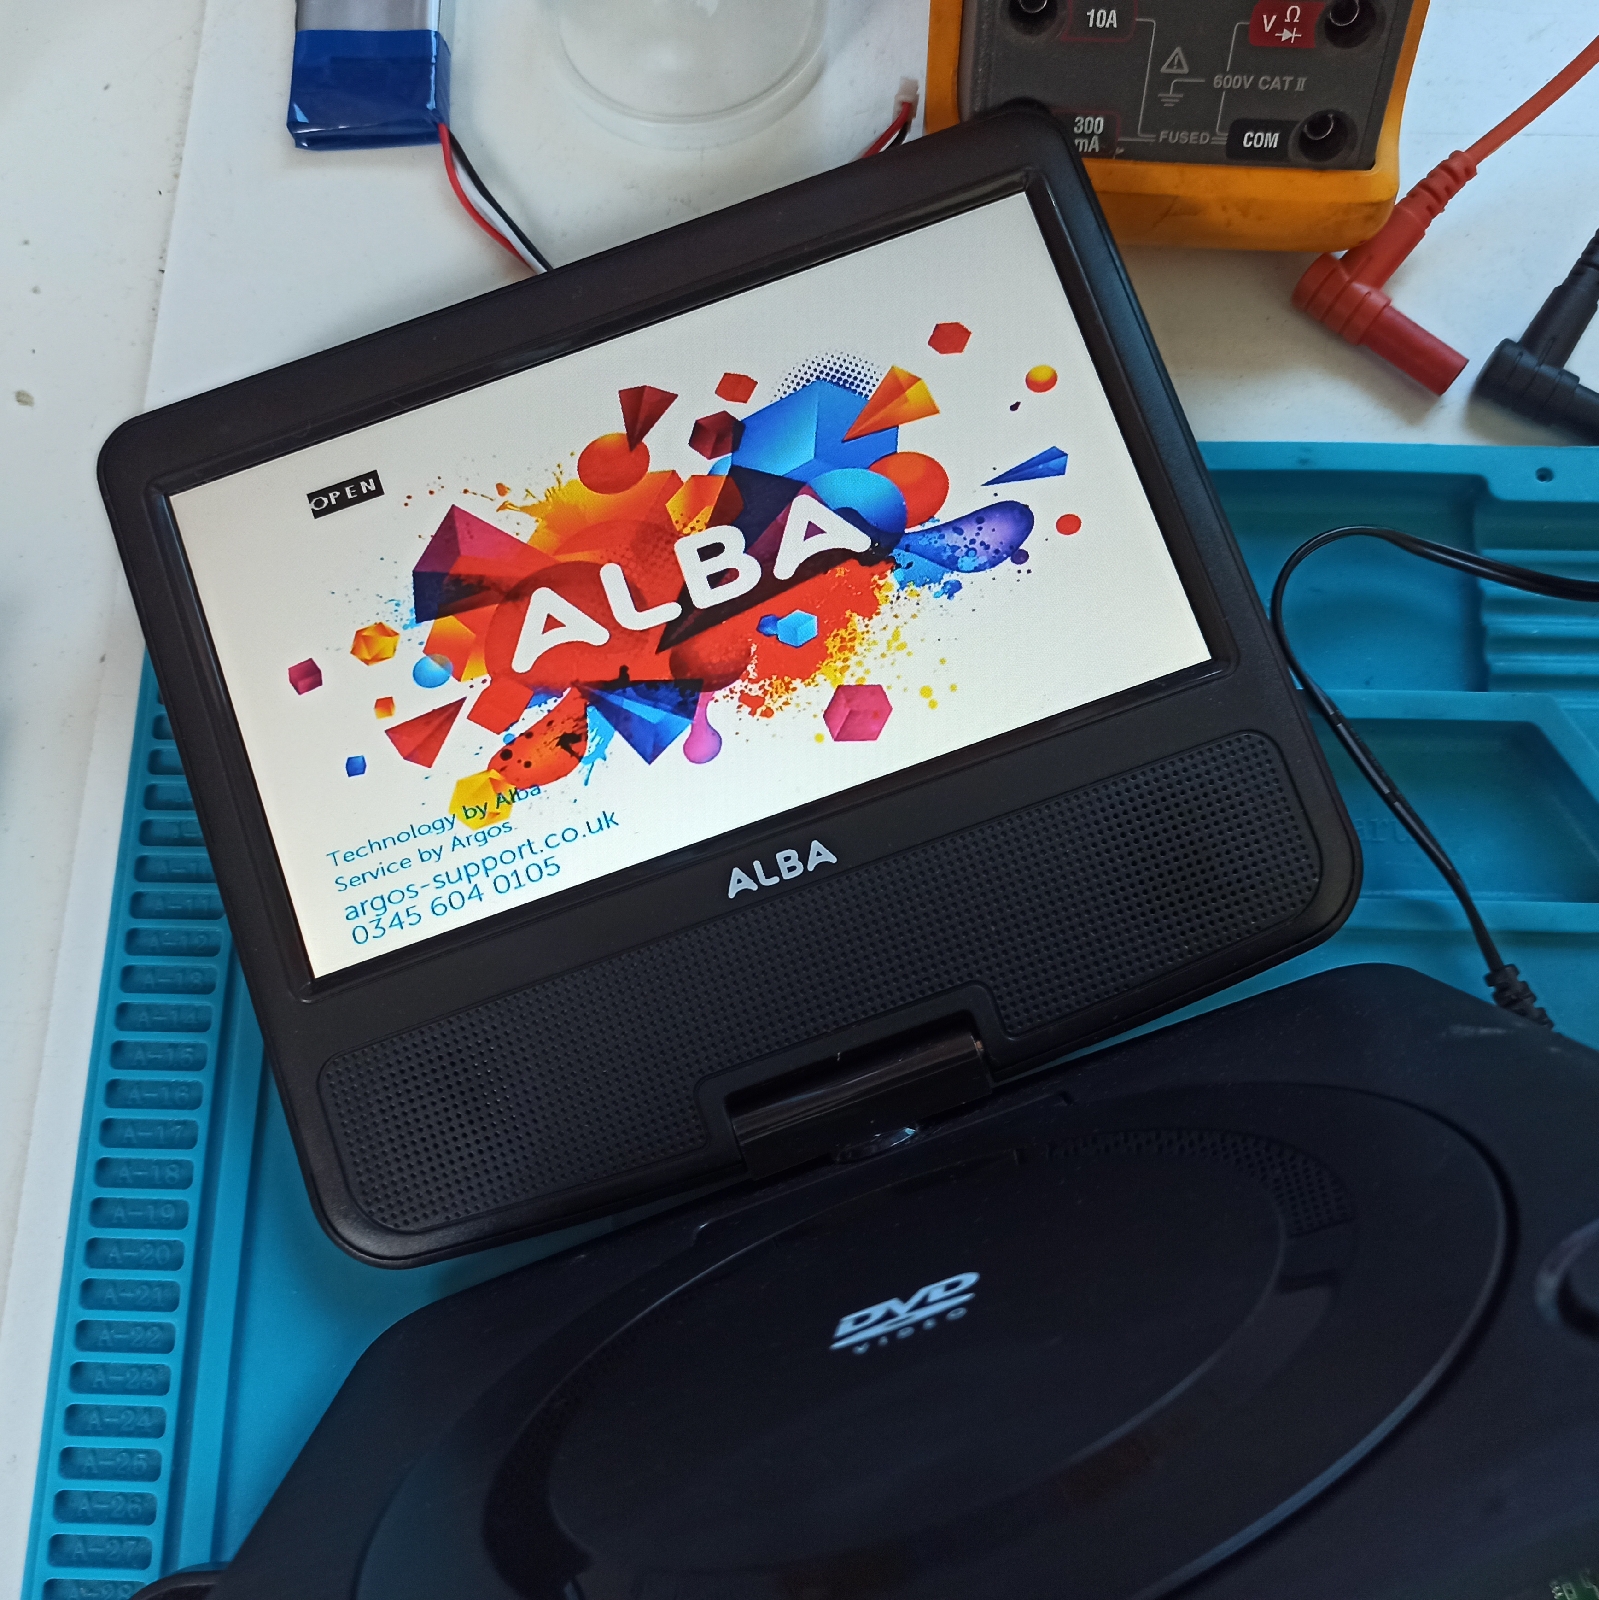
Another damaged portable DVD player I got from a kind lady on Freegle. She said it had been dropped and wouldn't play discs anymore. The unit powered up okay and as luck would have it, can read DVD and DivX files from a USB flash drive. A bit of testing revealed that the main turntable motor was only getting 0.5 volts instead of 6 volts and the drive transistor was probably blown. My guess is that when the unit was dropped something jammed the spindle and the stall current blew the transistor.  Anyway, my eyesight isn't up to even trying to replace a surface mount transistor so I thought, why not gut the DVD parts out of this thing and just keep it as a digital player.  And below you can see Chun Yu Fat in the classic action film 'Hardboiled'  playing from DVD files copied on to a USB flash drive. A 32Gb flash drive will hold around 45 DivX film files, plenty of choice.

VFD Display Counter Test (Arduino)

Upcycled VFD Display Counter Test (Arduino) (YouTube video)  All parts are recycled or recovered from obsolete electronics, with the exception of the Arduino board.  The VFD is being driven by 2 ULN2308 transistor arrays via 10K pull-up resistors to 12volts. There are a total of 16 lines, 6 for digits and 10 for segments. Normally the VFD elements are held high (ON) , but switching a ULN2308 transistor ON pulls the line to GND and turns the VFD segment (or digit) OFF, so inverted logic.  The 2volts for the VFD filament is coming from the Arduino 5volt line via a 10R resistor. The code is based on the Arduino SevenSeg library but I will be writing my own code with interrupt-driven multiplexing for the VFD digits.

EV Charging Cable Conversion

Image
We recently upgraded to a new (to us) Nissan Leaf after over 4 years of successful and ridiculously cheap motoring in our first one. The second generation Leaf uses a Type 2 AC connector at the car end whereas the first generation used Type 1, which is now basically obsolete. New cables are £100+ so I decided to convert our existing cable instead. I had bought this from a mate for £50 because at the time Nissan didn't actually supply a charging cable, expecting home and street chargers to have a tethered cable. Some do, most don't. Anyway, when we traded our old Leaf in, I kept the cable. The dismantled Type 1 connector is shown above, ready for sale as spares on eBay to recoup some of the cost of the upgrade.  A new Type 2 plug cost £35 delivered via AliExpress and arrived in about 10 days. It was complete with the necessary 220ohm resistor which is connected between the PP pin and the PE earth pin to tell the car the plug is in and to draw up to 22kw from the char...

Another Retro Portable Television

Image
I took a punt on another retro portable television on eBay which was listed as non-working due to a missing volume knob. It was a Sony which I figured would be built to last and getting it including delivery for £20 I couldn't really go wrong.  It turned out the television works perfectly and I found a matching volume knob in the spares bin (probably from some other piece of Sony kit I dismantled), so a result. The case has a little damage and the tuning knob isn't working properly, but from the photo you can see a signal coming in via my old Acorn Amega RF modulator. And here's a Zoom call on it!! 

Vacuum Fluorescent Displays

Image
I recently had a clear out and chucked away some old PCBs from set-top boxes which had vacuum fluorescent displays (VFD) in them. Like many others, I like the retro look of these displays, so removed them before the boards were scrapped.  Having to take a couple of days in bed this week due to (finally) catching Covid-19, I watched a few YouTube videos on how these things work. It turns out it isn't that difficult to make them light up if you have 3 volts and 12 volts available. So a few initial experiments today, but a long way from anything useful for now. Bulldog clips can be really useful for all sports of things! 

More National Commando 505 tweaking.

Image
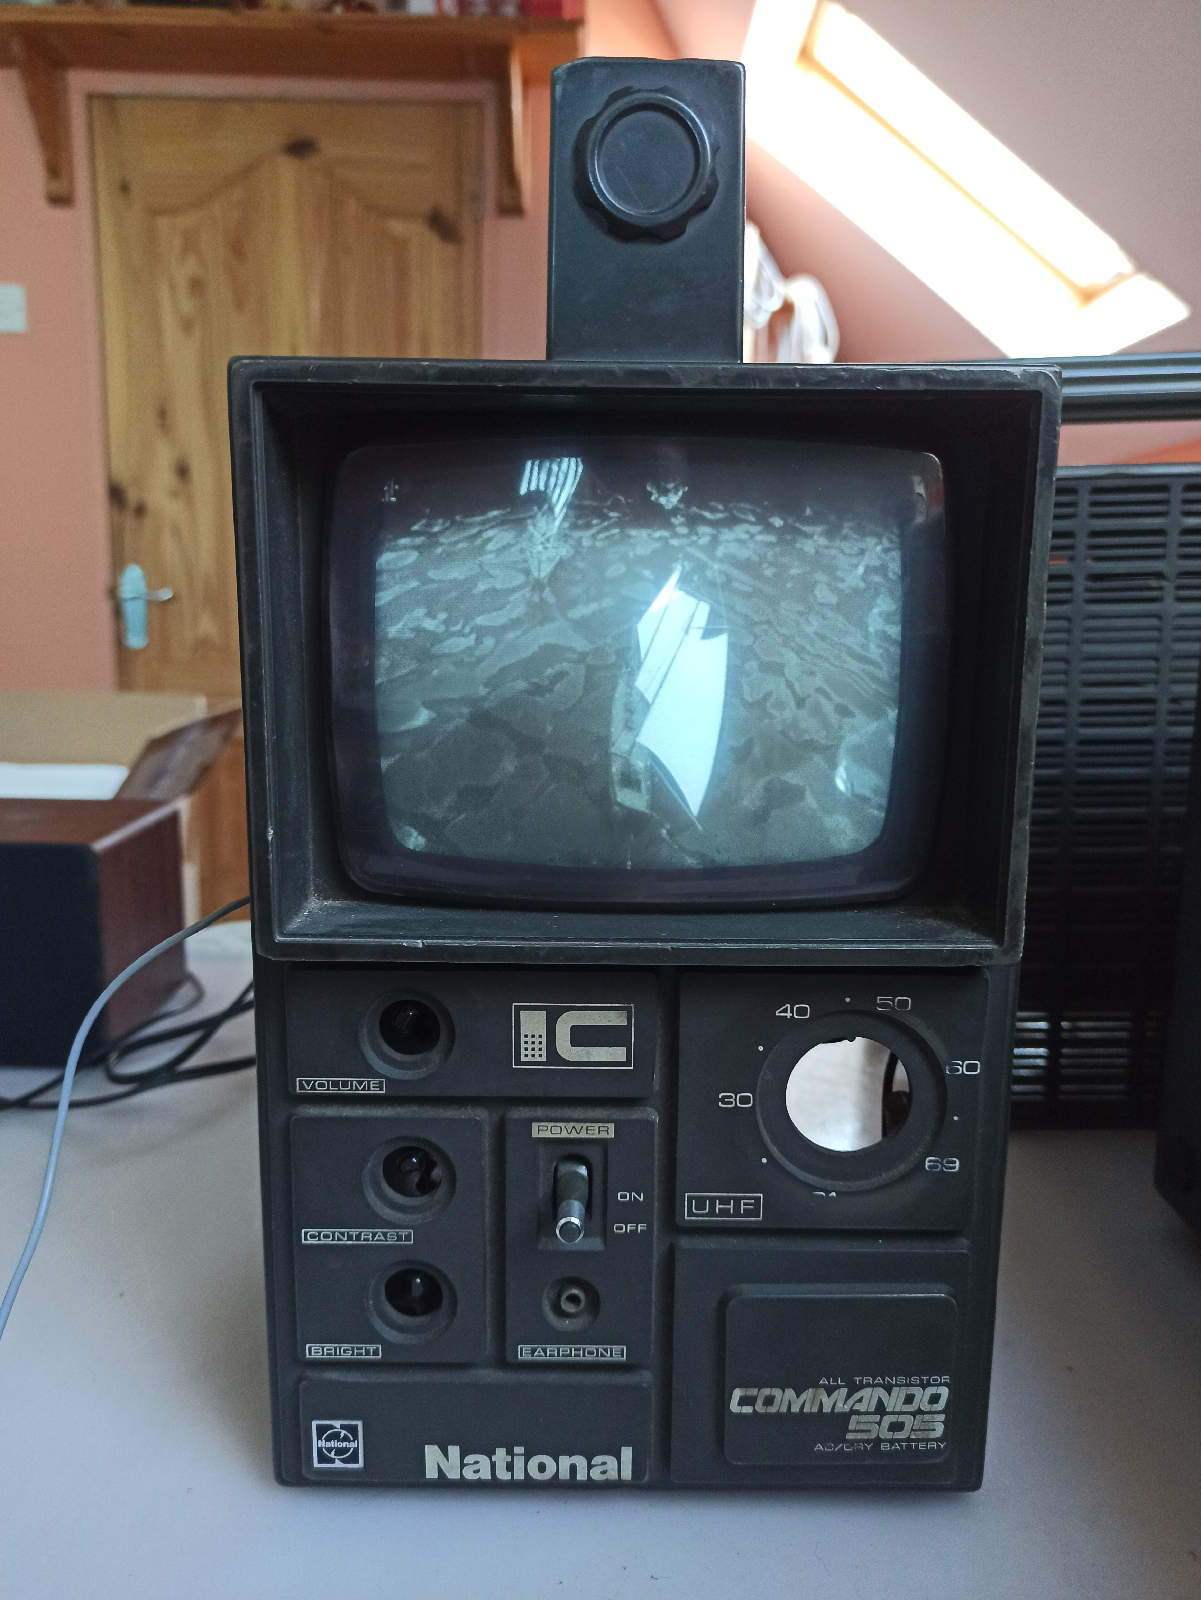
I've been trying different component values for the composite video input on the repaired National Commando 505 television. I soldered a screened cable into the entry point to the video circuit by taking R141 (47K) in the schematic off-board. Than I tried different input capacitors and the infamous 75R resistor (which seems to kill the signal). This is digital television coming off a Freeview box.  The mag-mount aerial is handy. I need to work out how to patch up the case and whether or not to spray paint it. I could be boring and go matt black or be radical and go bright red.

Another National 505!

Image
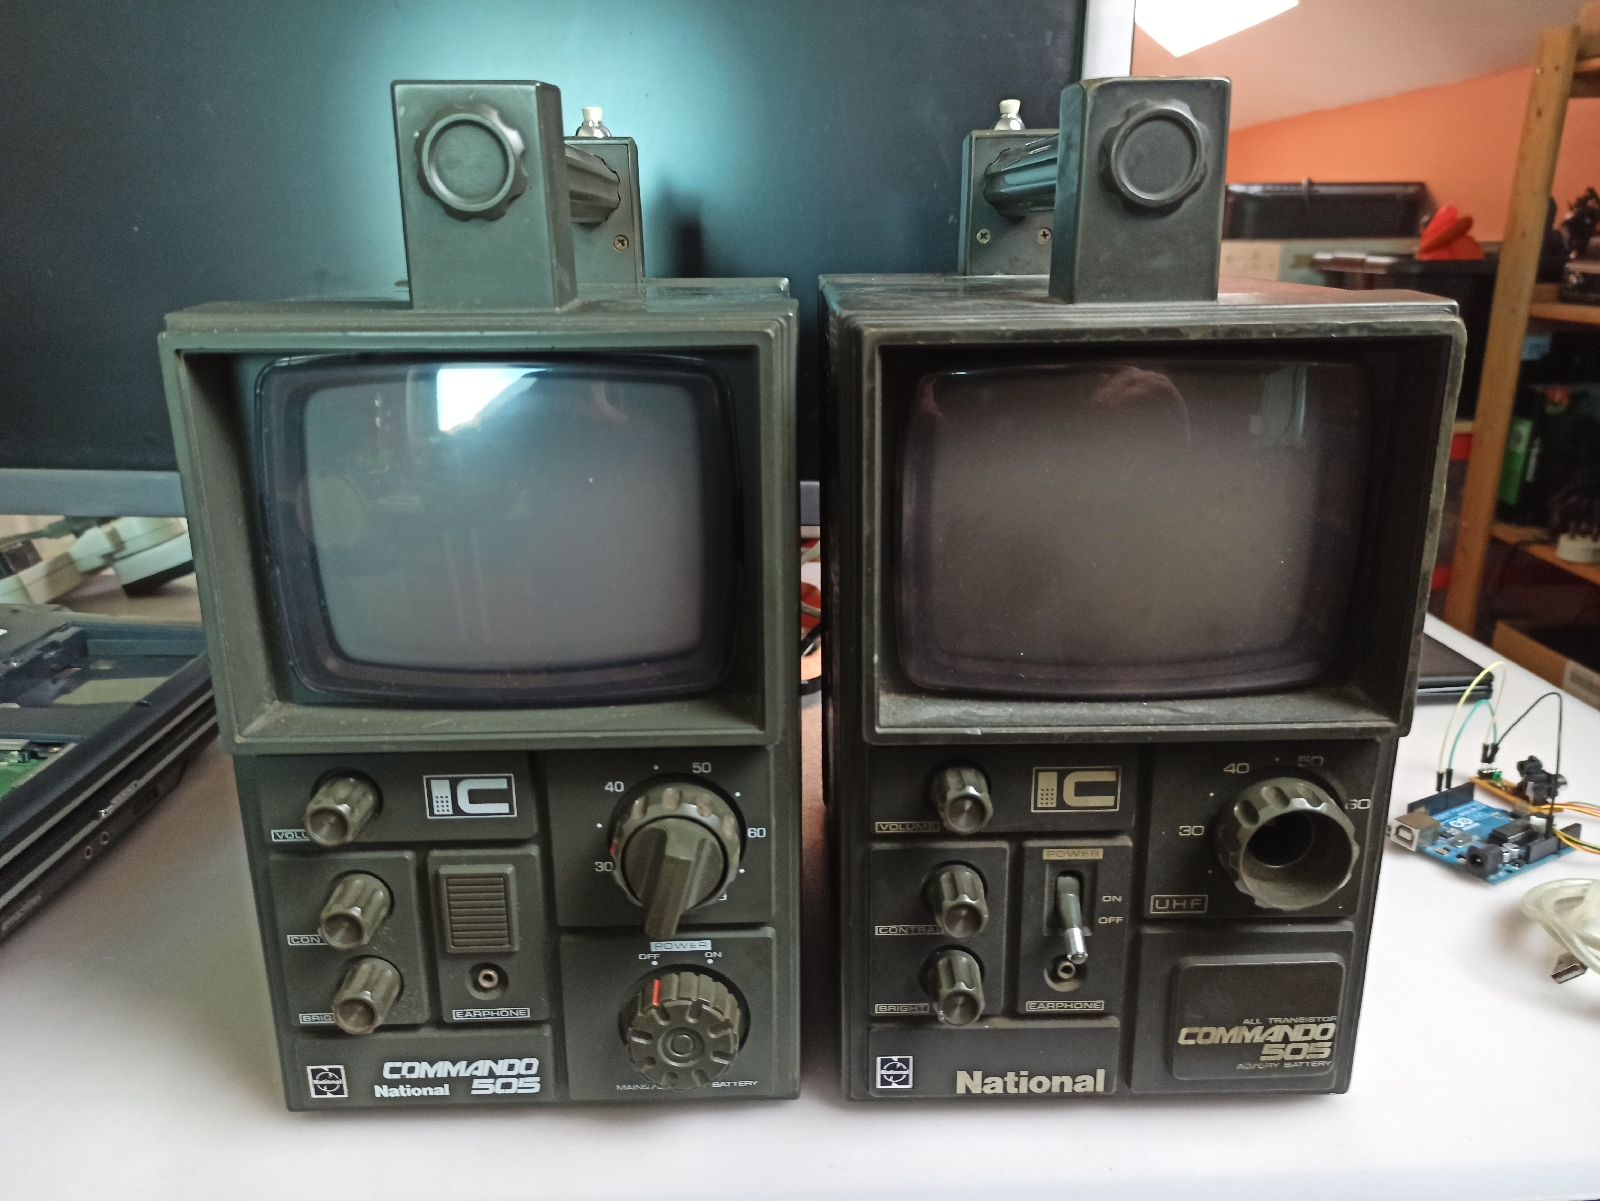
A non-working one of these came up for under £20 (delivered) on eBay and I figured it would be good craic seeing if I could fix it and add a composite video input. It's a slightly different model (on the right) with a toggle power switch instead of rotary, but apart from that looks identical. I found a brilliant video on YouTube detailing how to add a composite video input to a 1977 Panasonic television which turned out to have a very similar circuit. UPDATE (13/02/22) - All that was needed to get this going again was to replace a fuse on the main board. The problem was that someone had soldered a replacement fuse into the holder at some point and it wasn't rated highly enough. I sorted out the holder and put a 1.6A fuse in and off it went.  I removed the UHF module and battery wiring and started adding a composite video input to this one. Above is an initial test using a signal from my trusty (repaired!) DVD recorder, but some tweaking is st...