Posts

Repaired Digital Camera
Image
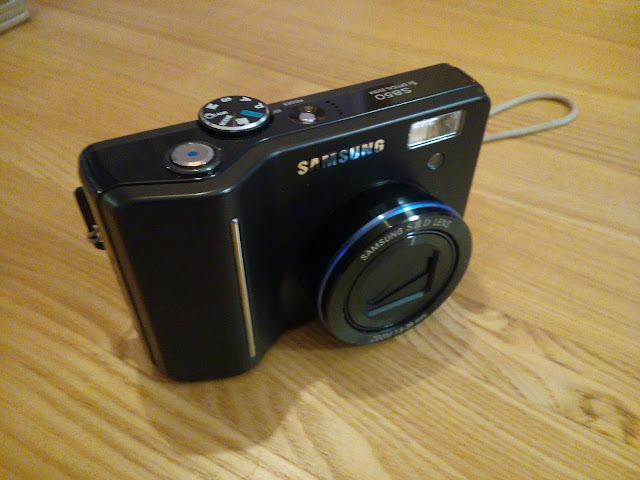
I forgot to photograph this repair while I was doing it and it was a fiddly one too. My wife gave me her old 8 MP Samsung digital camera, modern equivalent of an Instamatic really, but it has a decent zoom lens. The problem was that two batteries had been left in it and contrary to popular belief even Duracell batteries will leak if left long enough (a couple of years). In this case one had corroded the positive spring contact which fell out. Probably some chemical electrolysis reason, but I only have a B at O-level, so not an expert. After carefully dismantling the camera, I was able to solder a small spring to the base of the battery connection which thankfully was still intact (right-hand contact in the bottom photograph). Reassembled the camera and it's working a treat. Just need a glamorous model now to make the repair worthwhile!
ESP8266 WiFi IoT Experiments

Image
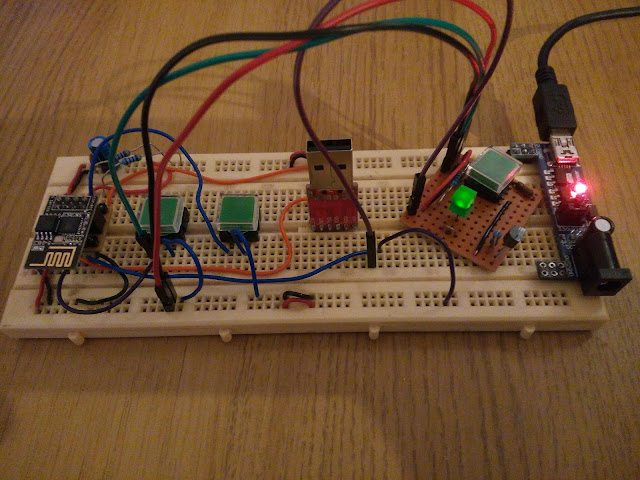
This is experiment number 2 in the world of the Internet of Things and the amazing ESP8266 modules. After developing a basic software on the WeMos D1 ESP board (bottom photo), which is Arduino compatible, I built this test rig for the tiny ESP-01 module. This allows programming via a USB-to-serial module and is powered by a modified 3.3 volt converter (on the right). The software was easily ported across and is now sending temperature data to a Google Sheet via a webhook on the IFTTT service (If This Then That). The ESP-01 only has 2 I/O pins (GPIO), but if serial communication isn't needed that goes up to 4. Using a 2-wire I2C bus seems to be the way to go to add displays, sensors and keypads. The only problem was that the Arduino ESP libraries on my workshop PC seem to be different to my other PC and causing compile errors. Might need to do a clean reinstall. ESP-01 Test Rig WeMos D1 Board

Home Brew Digital Assistant 2

Image
Stand and speaker box glued to the back of the tablet with strong epoxy. Always worth curing the glue by leaving the work on a radiator for a few hours. The speaker box was recovered from an old Apple iMac and gives a better quality sound compared to the tiny speaker which was originally in the tablet.

Home Brew Digital Assistant 1

Image
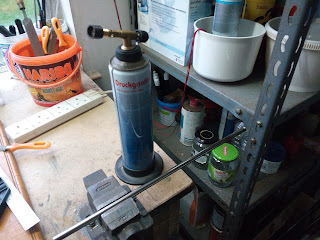
This is phase 1 of turning an old Android tablet into a (sort of) digital assistant. The tablet is another Freegle donation which had failed because the battery had died which in turn was interfering with the power circuit. I removed the battery so the tablet just runs off a 5-volt power supply. I want the unit to have a fixed stand and decided to have a go at bending a piece of light perspex. A bit of old Internet research suggested that a hot bending bar would work. One of the bars I rescued from a dead printer was pressed into service along with my blowtorch. Plenty of heat and a bit of bending worked pretty well. Next step is to glue the stand to the back of the tablet, glue the speaker enclosure to the back of the stand and spray the whole thing, probably gloss white.

Solar Light Upgrade

Image
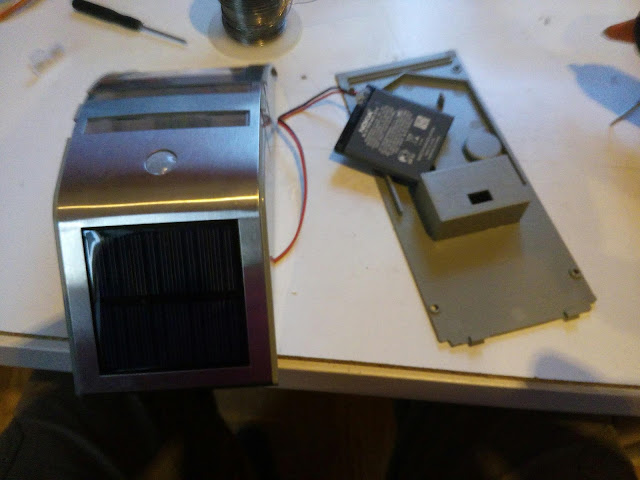
I bought one of these solar security lights from Home Bargains and it failed after one night so I took it back for a replacement and the new one did the same thing. Bad batch I thought, so I had to take a look inside. Turned out the lithium-ion battery was duff and holding no charge. It was an AA-sized 3.7 volt battery with no marked capacity so a hunt in the parts bins was called for and this root around turned up a new Nokia 'phone battery in the same 3.7 voltage and 950mAh capacity. A bit of soldering and hot glue wizardry and the light is working as it should.

LED Backlight Repair

Image
A kind lady on Freegle gave me a load of broken electronic items including a 39-inch  ISIS brand LCD television. It turned out this was another Vestel rebranded chassis. I rigged it up to a DVD player and used the bright torch trick to check that there was an active picture, but no backlight. There was about 120 volts being delivered to the backlight and a bit of research online suggested at least 1 of the LEDs might have gone open-circuit. I dismantled the entire set as carefully as possible and found 5 strips of 9 LEDs, all 45 wired in series. This requires a voltage of about 135 volts, but means the current can be kept low and constant. With the strips separated I was able to apply about 25 volts to each strip. 2 strips were fine, 2 were illuminating, but had a dead LED each (LEDs had shorted out) and the last was completely dead meaning an open-circuit LED. On the bench I was able to identify the open-circuit LED. I had some salvaged LED strips from a television that had suffer...

PCB Holder

Image
I treated myself to a decent PCB holder for soldering, something I should have bought years ago. This is especially useful now that I have a hot air soldering station for working on surface mount and other small components. I still need practice with the hot air gun, but it's fun learning and the repairs are always interesting (see posts on the Samsung Galaxy Tab E tablet repair ).