Posts

Showing posts from 2023

Retro Video Generator

Image
I found this project while I was experimenting with the NTSC Color video generator some time ago, but finally got round to ordering the parts I needed recently. Thanks to Grant Searle for the awesome work on the project, which seems to have slipped into the recesses of the internet. This may be because unlike the classic 'TV_Out' for the Arduino, you need a programmer to upload the hex file directly to microcontroller. The circuit uses a 74HCT166 parallel in/serial out shift register, clocked at the same 16MHz as an ATmega328P microcontroller, giving the speed necessary for a 640x200 pixel display. The biggest problem I had was with the ATmega328P ICs I bought on Aliexpress. These seemed to have the option fuses set for a slow internal clock and it took a bit of messing about to get the fuses cleared so they could be set for the external crystal. Best of all, data is input via a standard I2C 2-wire interface which will connect to PIC microcontrollers (which I have ...

ZX Spectrum Repair and Upgrade

Image
A kind Freegle user gave me a big collection of vintage home computer equipment a few months ago including 4 48K ZX Spectrums in various states. The photo above shows one of them connected via the aerial RF socket as a test. The random pattern is a typical ssymptom of failed memory ICs.  The first job was to examine the main boards in each of the 4 computers. 3 were Spectrum+ units in the bigger case with the better keyboard and 1 was the classic Spectrum with the rubber keyboard. Unfortunately the classic's case was in very poor condition, but 2 of the 4 main boards were suitable for restoration along with at least 2 of the Spectrum+ cases. The 7805 regulator is a linear type and generates a lot of waste heat, hence the big heatsink. These can be easily replaced with a high-efficiency TSR1-2450 swich-mode type so that the heatsink can be done away with. The next job is to modify the RF modulator to output composite video. This just r...

Attack of the Clones

Image
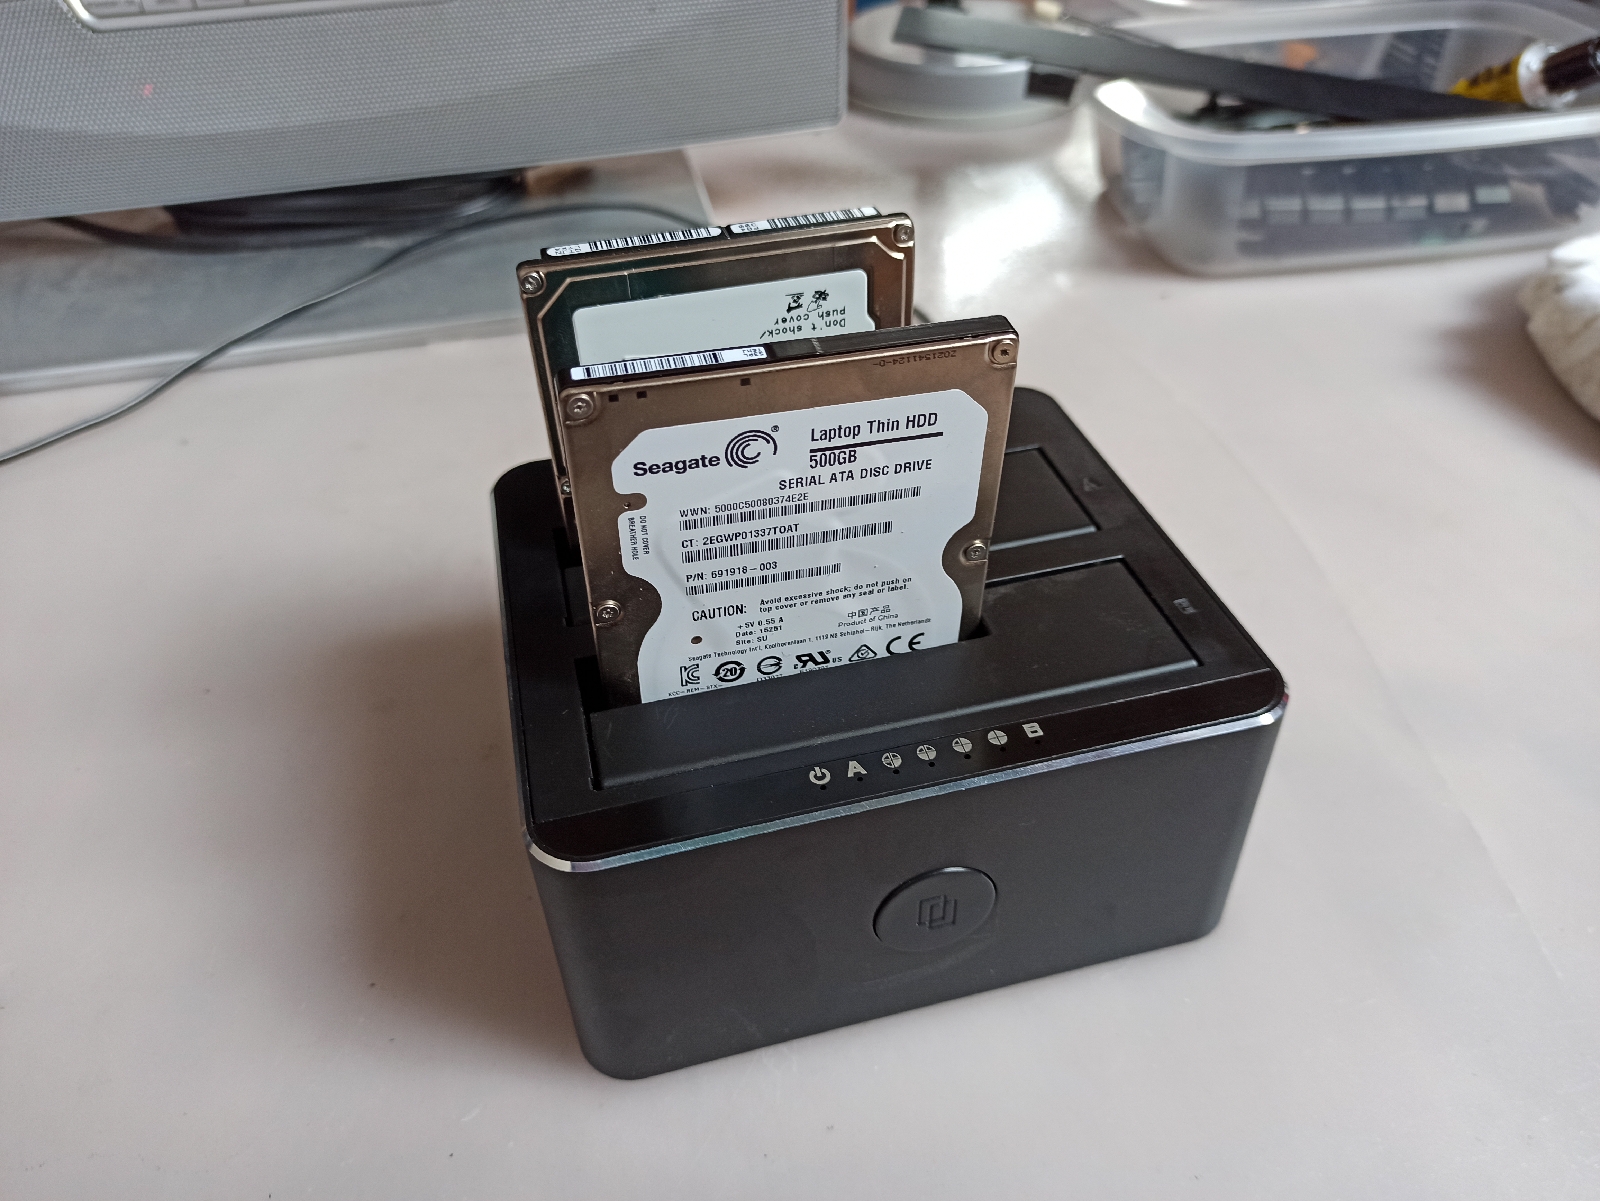
I bought this Tecknet dual SATA external hard drive dock a few years ago and it's been very useful when I've been upcycling laptops, particularly for cloning one drive to another. The source drive goes in the A slot and the target drive in the B slot, press the clone button on the front and the unit does the rest.  The target drive must be blank and have the same or a larger capacity than the source drive. If the source is bootable then the target will be too. The only issue is that unless the drives are identical in size, the target will have a primary partition the same size as the source followed by unallocated space. This is easily fixed by using GParted to expand the primary partition to fill the whole drive. The unit has a USB 3.0 connection so also invaluable for backing-up prior to upgrading Linux Mint.

Raspberry Pi DIY Fan

Image
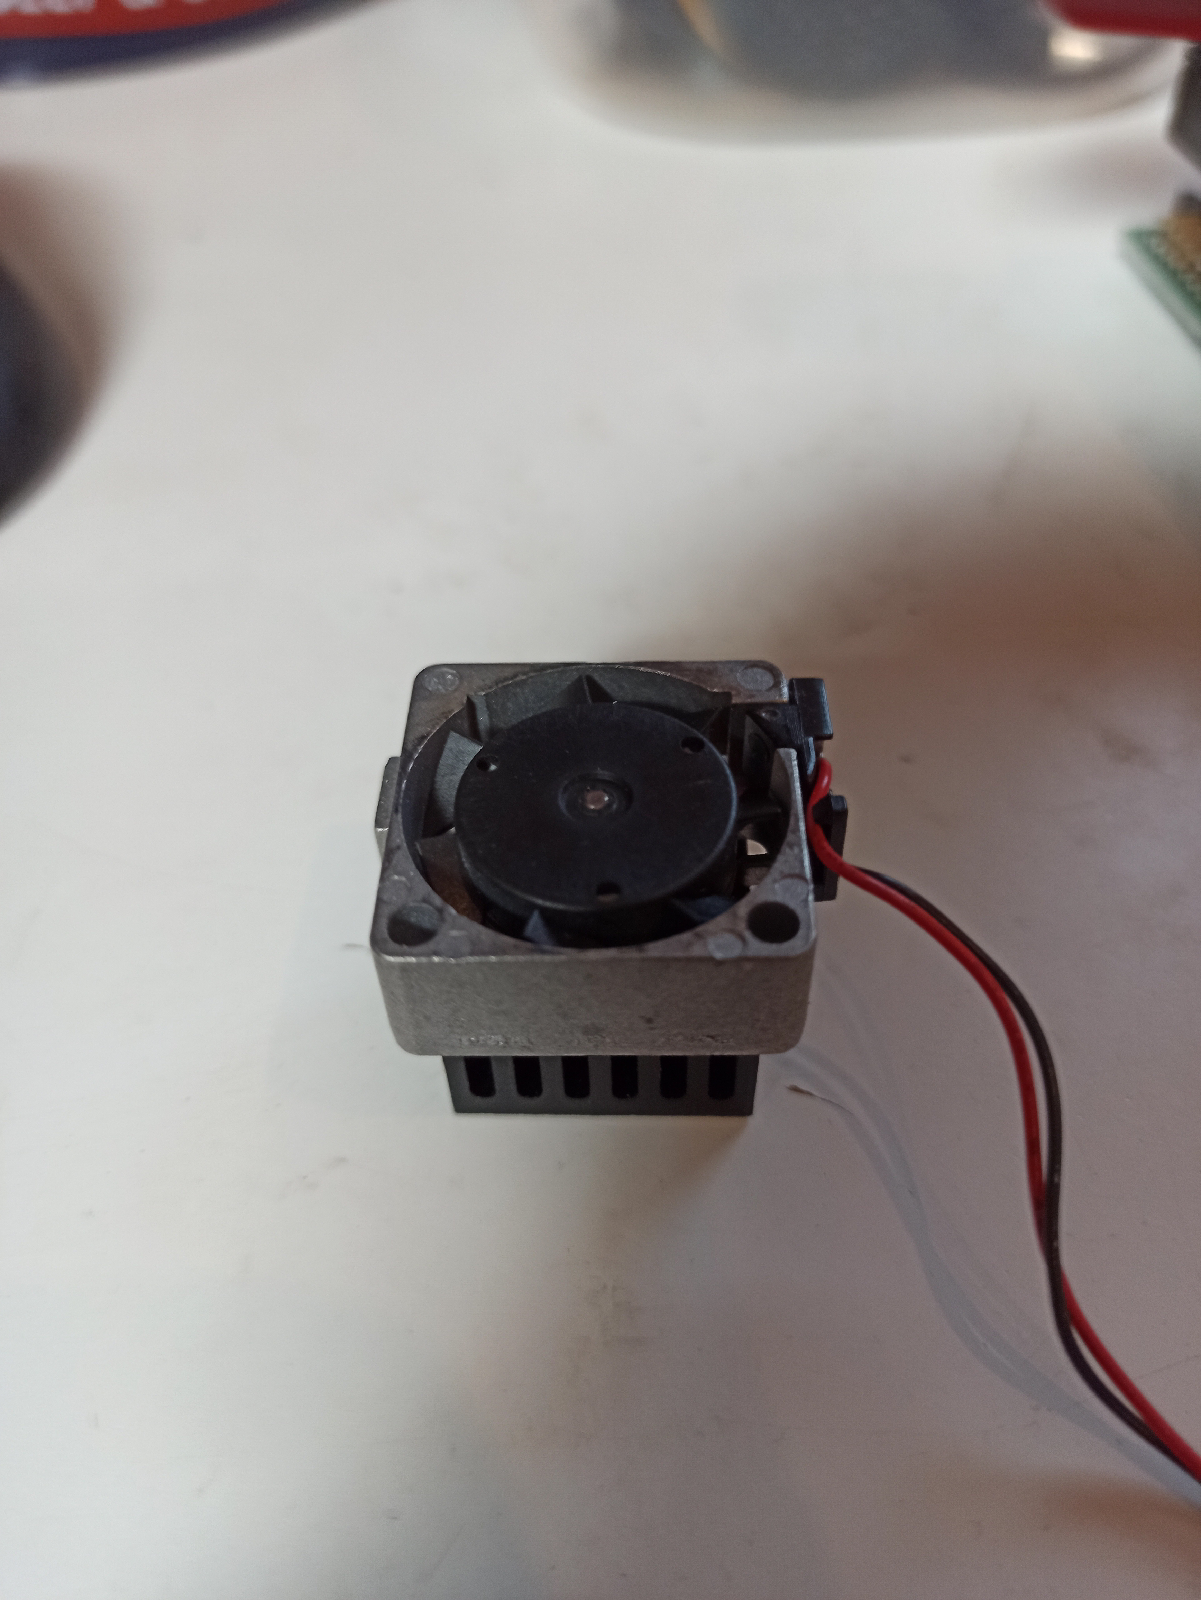
I haven't used my remaining Raspberry Pi 2 for a while, but dug it out recently. I had to update the operating system which now has options for over-clocking the CPU to 1GHz as long as you can cool it so there is also an option to run a fan.  The miniature 5v fan recovered from a broken laptop super glued onto a miniature heat sink recovered from a Sky+ box. Prototyping the control circuit using a BS170 MOSFET with the gate connected to GPIO pin 14. Using pin 14 puts the 3 connections in a row (+5v/GND/GPIO14) on the RPi GPIO connector making for easy fitting. The circuit constructed on a piece of stripboard with a recovered 3-pin connector from some long dead piece of kit. The completed fan on top of the RPi's Broadcom CPU with a drop of thermal paste between them. So I enabled the fan and over-clocking and ran the Pi for 2 hours running YouTube videos and a spreadsheet. A little faster but the fan never came on! Seems the heat s...

Donated HP Laptop Mild Upgrade

Image
I was given this really nice HP 350 G2 laptop by a very kind lady on Freegle. As is usually the case it was running slow under Windows. I offered to install Linux, but she had bought a new laptop and just wanted this one to be used. This is the first 15w laptop I've worked on and it needs low power RAM (1.25v), which I didn't have in stock, so I purchased a 4Gb module on eBay for under £5 delivered. This took the total memory to a respectable 8Gb. A 512Gb SSD upgrade (under £20, AliExpress) and a clean install of Linux Mint and I have a decent laptop to do me for the next 3 years. Performance is fine for my needs (mostly web browsing, Zoom and some hobby coding). The CPU is an i5-5200 which seems to be the fastest that the motherboard can handle so I won't be changing the CPU this time. HP Pavilion G6 CPU Upgrade As I usually do, I'm going to cycle my i7-3632M HP Pavilion G6 (above) into the workshop, which will leave two older laptops to pass on via...

Biggest Power Bank Yet!

Image
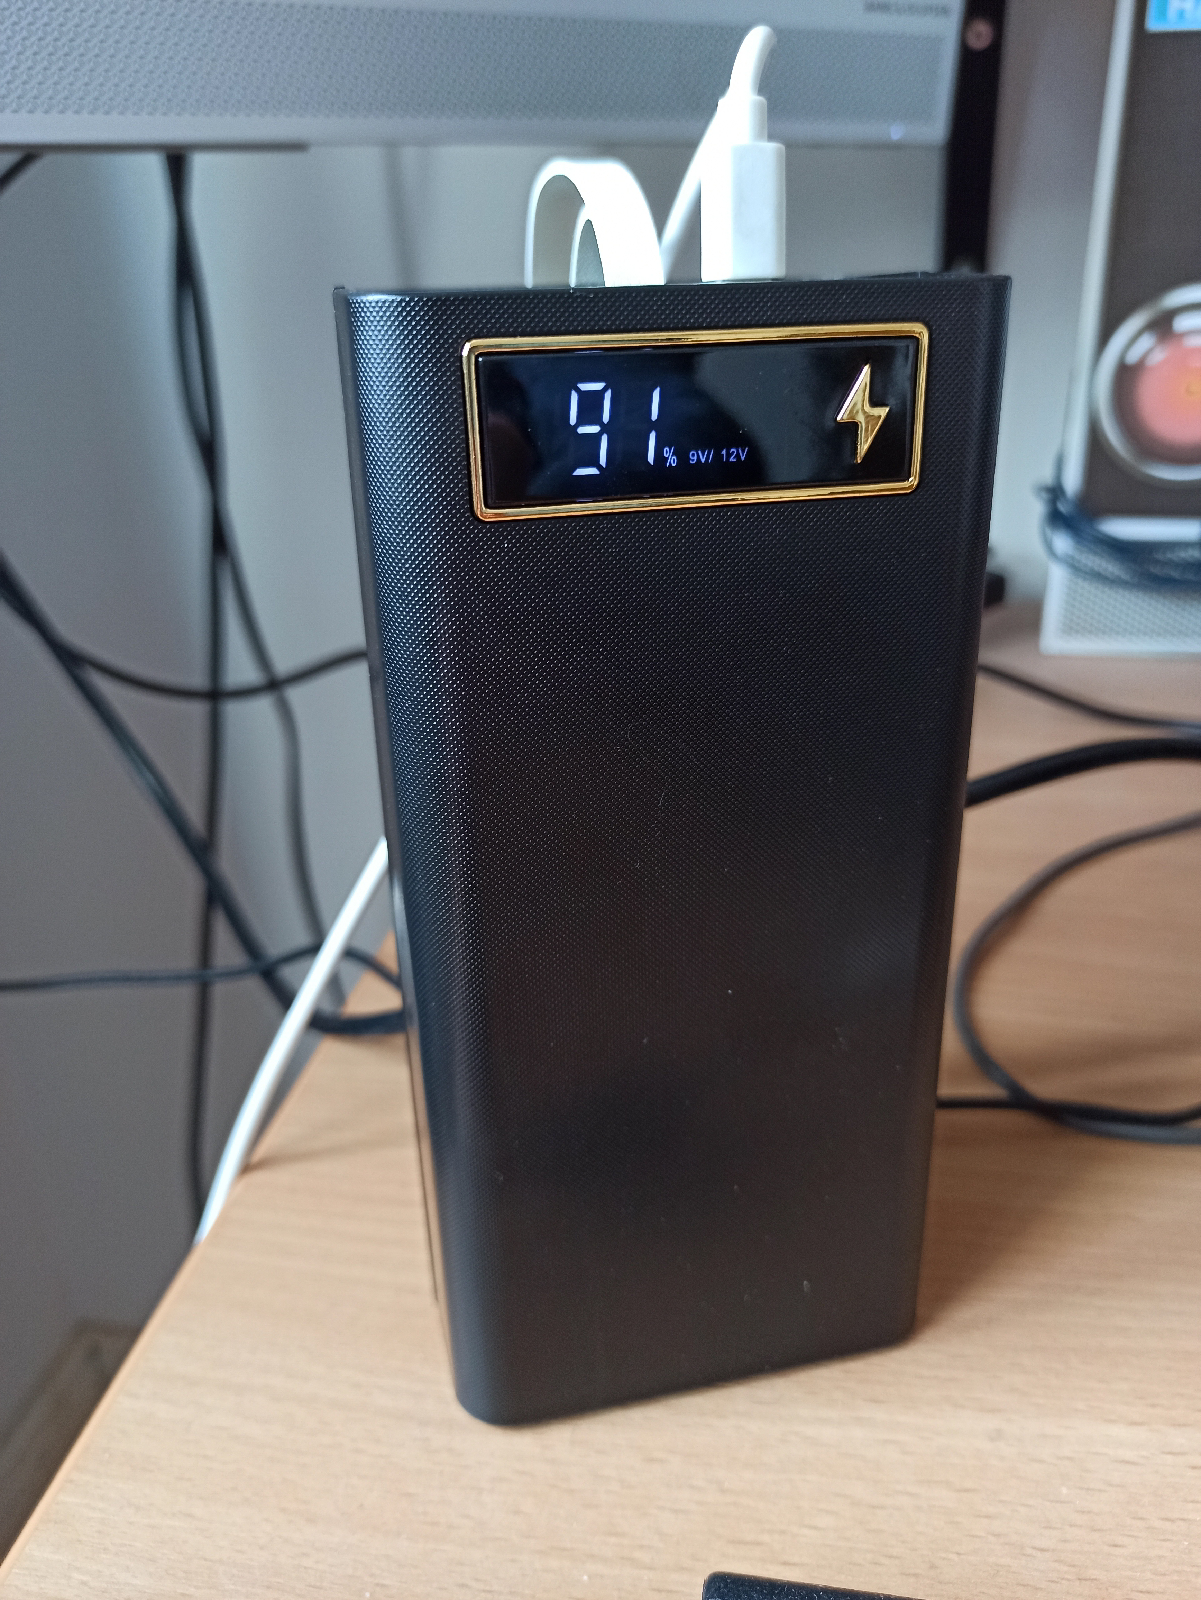
This is the big daddy of power banks! 21 18650 cells so the equivalent of 3.5 laptop batteries. Somewhere in the region of 200Wh give-or-take as the cells are used. This one is the easiest to use, spring contacts and a sliding lid. It supports fast charging both in and out at 5, 9 and 12 volts and has a range of USB connections as well as an Apple one. I fully charged it about a week ago and it is showing 96% currently which would indicate 1 or 2 cells cross-charging. When it hits 90% I'll test each cell, identify the weak ones and replace.

Apple iPad SSH Connection to Linux Laptop

Image
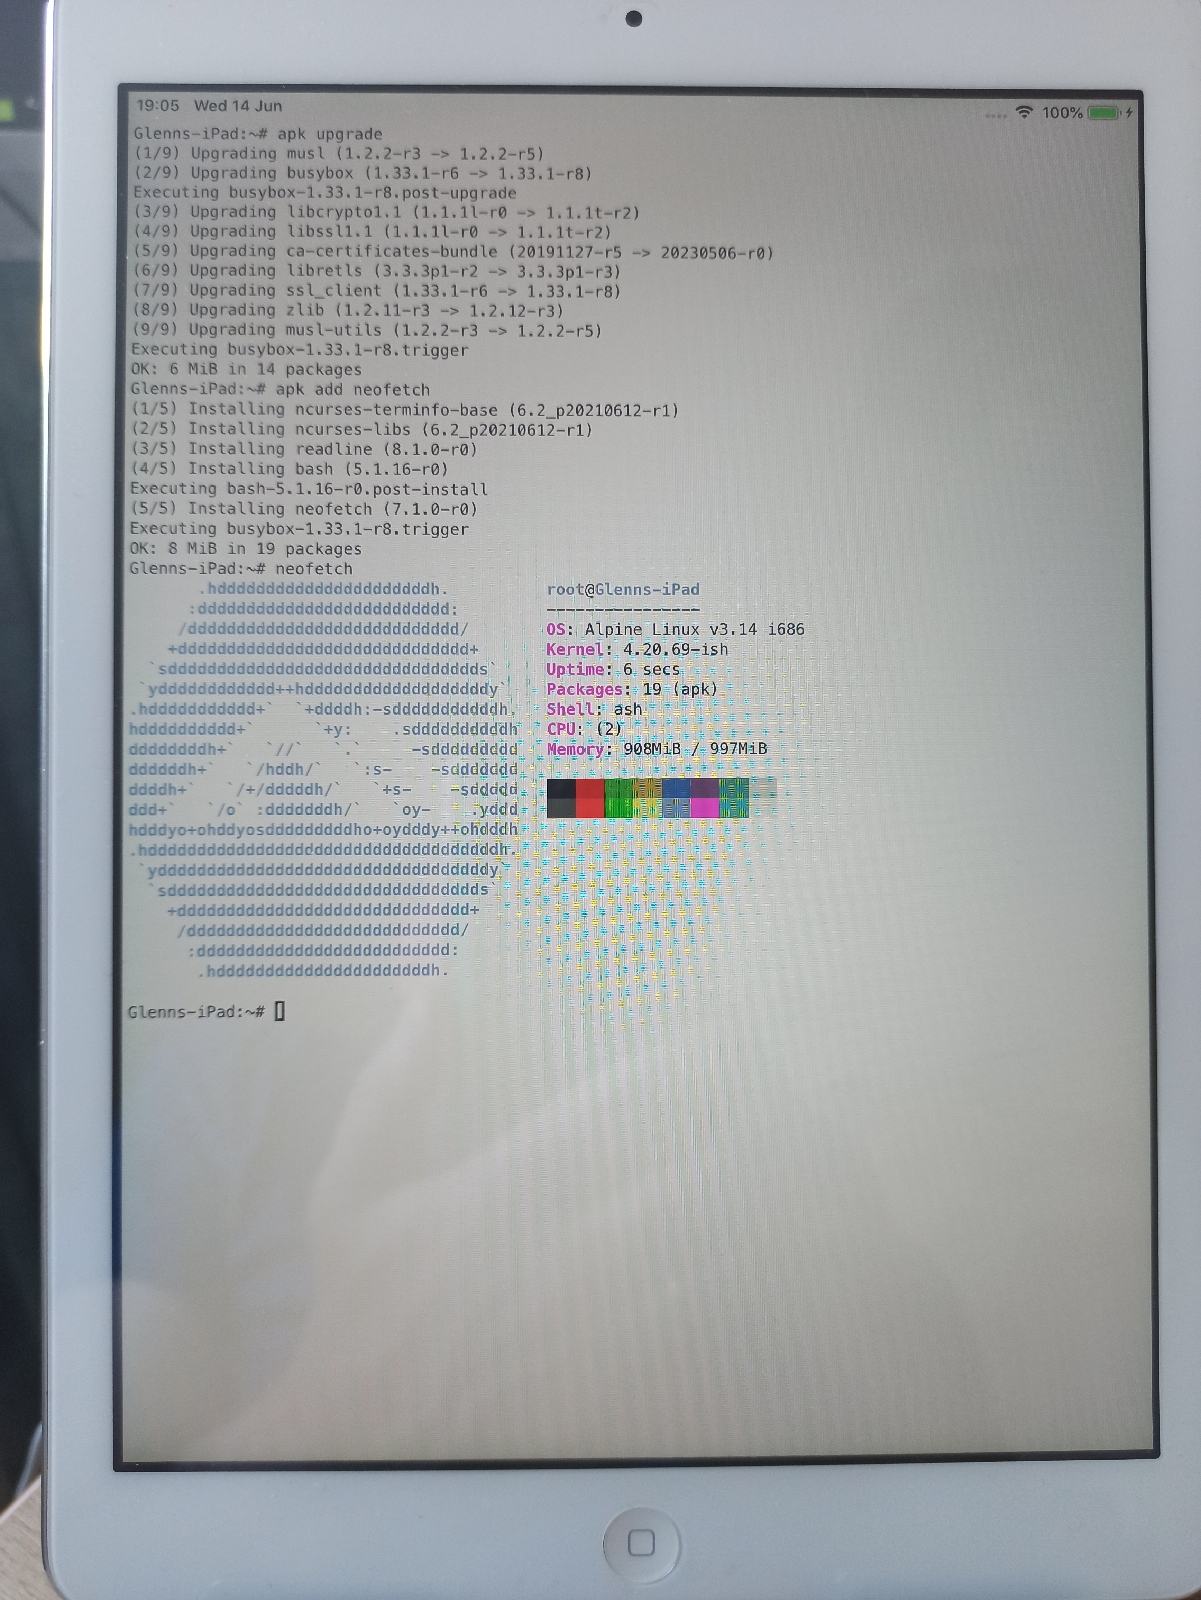
I was given this older Apple iPad a while back and was looking into installing Linux on it. Options are limited, but it is possible to install a shell to the iPad and run command line stuff.  SSH is always a bit of fun so I logged into my Linux Mint laptop remotely for a giggle. It was interesting running a few simple commands from the iPad. My cheapo Bluetooth keyboard came in very useful although I discovered that the iPad's OS version predated mouse support so the trackpad didn't work. Going a step further, I got my Raspberry Pi going again and was able to install VNC on the iPad and remotely control the Raspberry Pi's desktop. Could be useful! I'm also looking at fitting a small heatsink and 5-volt fan (recovered from a broken laptop) to the Raspberry Pi and over clocking it to 1GHz.

Monster Power Bank

Image
This is the biggest power bank I've made yet using 16 recycled 18650 cells from defunct laptop batteries. I now have a decent system for identifying the useable cells and preparing them for use in a power bank. The first think to be clear about is that after messing about with soldering recovered cells together I've given up on that as unneccessary when you can buy power banks with spring connections ready for the cells to be slotted in, just like any battery-operated device. The trick is to use a Dremel or Minicraft drill fitted with a cone grinder to clean both the positive and negative connections on the cells. A squirt of contact cleaner helps as well. Fit all the cells and charge to 100%, which with a 16 cell unit can take a while, but the USB-C 3 amp charging speeds things up. The next bit takes patience because you need to leave the thing for at least 2 weeks to see if any cells are dud and not holding a charge. As I've said before, most cells will be serviceable, us...

More Upcycled Power Banks

Image
Here's a quick way to test 18650 lithium-ion cells recovered from laptop battery packs using the simplest power bank enclosure. Put them on charge to 100% then leave for 24 hours and test with the voltmeter to see which ones are holding 3.7 volts or close to it. I have a bunch of old laptop batteries, all with 6 cells each and hoping to recover 16 usable ones for a monster power bank which can be charged at night on cheap electricity (as a wack experiment really, not going to run the tumble dryer obviously!). So far, so good, pack charged to 100% from zero in about 7 hours. Another batch of cells being charged.  Cells resting waiting to be voltage tested after about 14 days. Any cells holding a charge of 3.7 volts or more are usable and will go into a power bank casing.